
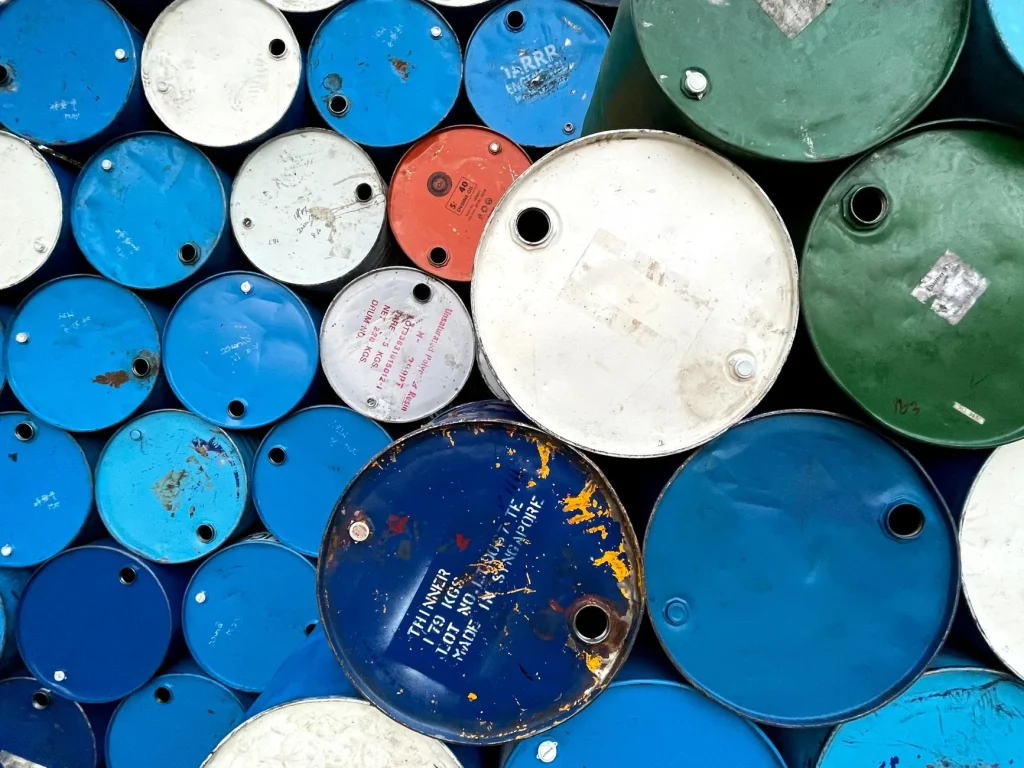
Invented in 2007 by Dennis Havlena, the tongue drum has become a modern percussion instrument prized for its unique sound. Often made from recycled materials, this instrument offers an affordable alternative to factory-made models.
Building one at home offers many benefits. Not only can it save you up to €300, but it also allows complete customization. According to testimonials, 90% of DIY enthusiasts are satisfied with their creation, making it an accessible and rewarding project.
This guide presents a tried-and-tested method for making your own tongue drum from a recycled gas cylinder. To discover other techniques and materials, see our complete guide.
Whether you choose metal, wood, or PVC, each material gives the instrument a unique sound. Get started on this creative project and discover the pleasure of playing a handmade instrument.
Introduction to the DIY tongue drum
The tongue drum is a percussion instrument renowned for its soothing sound. Used in music therapy, it promotes a sense of calm and well-being. This percussion instrument is ideal for anyone looking to explore a new musical dimension.
Creating a tongue drum requires approximately 12 to 15 hours of work. With an average cost of €50 to €80, it is an accessible and rewarding project. According to Rémy, a self-taught musician,
“It is a unique sensory experience.”
The acoustic principle is based on the vibrations of the metal tongues. These vibrations produce harmonious sounds that differ from those of factory-made models. By choosing a DIY creation, you also help protect the environment by recycling a gas cylinder.
An intermediate level of DIY experience is recommended for completing this project successfully. Here are a few key points to remember:
- The sound of a DIY model is often more personal and distinctive.
- Recycling gives unused materials a second life.
- This percussion instrument is both affordable and environmentally friendly.
Whether you are a beginner or an experienced musician, making a DIY tongue drum is an opportunity to discover a fascinating instrument and embark on a creative project.
Materials and tools required
To make a unique percussion instrument, choosing the right materials and tools is essential. The success of the project depends on the quality of the components and how well they suit your expectations.

Choosing the materials
The choice of material directly affects your instrument’s sound and durability. Steel is the most commonly used material because of its strength and resonance. A thickness of 2 to 3 mm is ideal for producing a clear, deep sound.
If you prefer a lighter solution, wood is an excellent option. Plywood with a thickness of 18 mm provides a softer sound and is easier to work with. However, it requires regular maintenance to prevent wear.
List of essential tools
Here is a list of the tools required for this project:
- A jigsaw for cutting the tongues accurately.
- An angle grinder fitted with Norton discs for polishing the edges.
- A Korg tuner for adjusting the notes.
- Level 5 Ansell CutPro gloves to keep you safe.
As for costs, a used gas cylinder may be obtained free of charge from a recycling center. The other tools represent a modest investment, and they can be reused for other projects.
Never use a cylinder that has not been emptied, as it poses an explosion risk. Always take the necessary precautions to ensure your safety.
Preparing the gas cylinder
Preparing the gas cylinder is a crucial step in ensuring the project’s success. This process requires particular attention to safety and technical details.
Emptying and cleaning
The first step is to empty the gas cylinder in accordance with GRDF-certified standards. Rinse it with soapy water to remove any residue. This method ensures effective and safe cleaning.
It is important to avoid models such as the Butagaz Easy, which are unsuitable for this type of conversion. Once the cylinder has been emptied, use a detector to verify that no flammable gas remains.
Removing the supports
To remove the supports, secure the gas cylinder in a Record vise. If you do not have specialized tools, lifting straps can be used instead.
After removing the valve, sand the cylinder carefully with 3M 220-grit sandpaper. This step creates an attractive finish and prepares the surface for cutting the tongues.
Cutting and shaping the tongues
Cutting the tongues is a key step in obtaining a harmonious sound. This phase requires precision and method to ensure accurate notes and optimal resonance.

Choosing the cutting pattern
The cutting pattern determines the arrangement and length of the tongues. Dennis Havlena, the instrument’s inventor, provides PDF templates to make this step easier. For a D minor pentatonic scale, the tongues should measure between 5 and 11 cm.
Use industrial tracing paper to transfer the pattern onto the surface of the cylinder. This method ensures maximum accuracy and helps prevent measurement errors.
Cutting techniques
The cutting can be done with a jigsaw or an angle grinder. Begin by drilling an 8 mm hole at the end of each tongue to make cutting easier. A speed of 2 cm/min is recommended to prevent deformation.
Here is a comparison of the tools:
| Tool | Advantages | Disadvantages |
|---|---|---|
| Jigsaw | Accurate, easy to use | Limited speed |
| Angle grinder | Fast, efficient | Risk of overheating |
Calculating frequencies according to tongue length is essential for obtaining accurate notes. Here is a practical example for a two-octave scale:
| Length (cm) | Note | Frequency (Hz) |
|---|---|---|
| 5 | D | 293.66 |
| 7 | E | 329.63 |
| 9 | F | 349.23 |
| 11 | G | 392.00 |
By following these steps, you will obtain perfectly cut tongues for a harmonious, personalized sound.
Tuning the tongue drum
Tuning is essential for achieving a harmonious and accurate sound. It defines the key of your instrument and ensures that every note is in tune. This phase requires patience and a methodical approach, but it is crucial for achieving the best result.

Using a tuner
A tuner is the essential tool for checking the accuracy of the notes. Digital models such as the Korg TM-60 offer excellent precision. To begin, switch on the device and place it near your instrument.
Strike each tongue and watch the display. If the note is too low or too high, the tuner will indicate the correction required. For more details, see our complete guide.
Adjusting the notes
If a note is incorrect, you can adjust it by slightly modifying the tongue. Use a file to remove 0.1 mm of material, which increases the frequency by 2 Hz. This method requires precision to avoid irreversible over-filing.
Another technique is to add mass with tin solder. This lowers the frequency and allows overly high-pitched notes to be corrected. Test each modification with the tuner to check its accuracy.
Here is a comparison of the adjustment methods:
| Method | Advantages | Disadvantages |
|---|---|---|
| Filing | Precise, immediate result | Risk of over-filing |
| Soldering | Easy correction | Requires specialized equipment |
Finally, check the musical intervals to ensure perfect harmony. For example, tuning to A at 432 Hz offers a more natural sound than the 440 Hz standard. Follow these steps to obtain a perfectly tuned instrument.
Customization and finishing
Customizing your instrument is a step that showcases your creativity. It transforms a functional object into a genuine work of art. Whether through decoration or the final treatment, every detail helps give your project a unique touch.

Decorating the instrument
Decoration is an opportunity to express your style. Use Hammerite paint to obtain a finish that resists impacts and weathering. This paint comes in a range of vibrant colors to suit every taste.
Acid etching is ideal for producing intricate patterns. It can create precise, detailed designs. Combine it with pyrography to obtain unique visual effects. Here are a few ideas to inspire your creative exploration:
- Masking to create precise geometric patterns.
- Patination for an aged, elegant finish.
- Adding brass resonators to enrich the sound.
Anti-corrosion treatment
Protect your instrument with a suitable treatment. Bona Mega varnish provides UV protection and a glossy finish. For an environmentally friendly solution, heated linseed oil is ideal. It preserves the surface while respecting the environment.
Here is a comparison of the protection methods:
| Method | Advantages | Disadvantages |
|---|---|---|
| Bona Mega varnish | UV protection, glossy finish | Slightly expensive |
| Linseed oil | Environmentally friendly, easy to apply | Requires regular maintenance |
By following these steps, you will obtain an instrument that is both attractive and durable. For more details about customization techniques, see our complete guide.
Conclusion
Creating a unique instrument is a rewarding experience that combines creativity and technical skill. This guide has helped you develop a range of skills, from soldering to tuning, while exploring your artistic talent.
With an average lifespan of 15 years, your creation will be a lasting musical companion. Ready-to-assemble kits are becoming more widely available and offer a practical solution for those who want to save time.
Whether you are inspired by your instrument’s unique key or by the account of a music therapist, this project opens up exciting possibilities. Share your creations online and encourage other enthusiasts to embark on this musical adventure.