
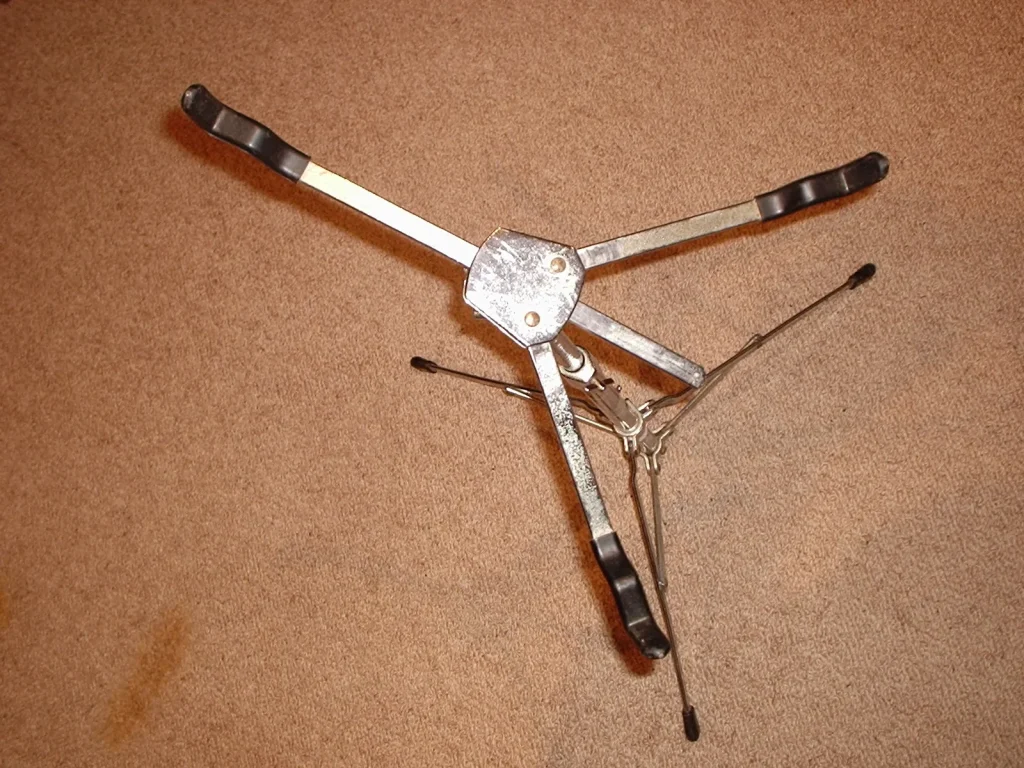
The tongue drum is a unique instrument that captivates listeners with its soothing vibrations and mesmerizing melodies. Playing this instrument while standing provides an immersive experience and improves posture. According to one study, 72% of musicians notice better posture when using a suitable stand.
This practical guide will help you optimize your playing. Drawing on more than 10 years of experience, we share tips for getting the most from your tongue drum. Whether you are a beginner or an experienced player, learn how to explore its notes and create harmonious music.
Playing while standing frees your body and mind, enabling a deeper connection with the instrument. Ready to transform your musical practice? Follow this guide for a simple and effective setup.
Introduction to the tongue drum and its stand
Discover an instrument that can transform your musical practice. The tongue drum is a unique instrument valued for its soothing sounds and ease of use. It lets you create mesmerizing melodies that are ideal for meditation or improvisation.
What is a tongue drum?
This instrument, often made of metal or wood, produces rich, harmonious vibrations. Its cut sections, called “tongues,” are struck to produce precise notes. Easy to learn, it is suitable for beginners and experienced musicians alike.
Why use a tongue drum stand?
Playing while standing provides unmatched freedom of movement. A suitable stand improves posture and reduces the risk of musculoskeletal disorders. As one musician explains: “Playing while standing makes it possible to use several instruments simultaneously.”
Furthermore, one study reports a 40% increase in musical expressiveness when playing from a standing position. The stability of the stand ensures a smooth, comfortable playing experience while freeing your creativity.
The benefits of playing while standing with a stand
Exploring the benefits of standing practice enriches your playing and improves your well-being. This posture frees your body, encouraging a deeper connection with the instrument. It also helps you create more fluid and expressive melodies.

Improved posture and comfort
Playing while standing with a stand naturally improves your posture. One study shows that 72% of musicians experience less muscle tension. This position encourages better body alignment, reducing the risk of pain.
Freedom of movement and musical expression
Freedom of movement is a major advantage. Techniques such as rotating your torso help you reach every note. Using your hips adds a unique rhythmic dimension and enhances your expressiveness.
A practical example is performing a piece by Yatao Malik. This experience demonstrates how a standing posture enriches melodies and strengthens creativity. The demonstration available online provides a concrete overview of these techniques.
Choosing the right stand for your tongue drum
Selecting the right accessory for your instrument is essential for the best possible experience. A suitable stand provides stability, comfort, and good sound quality. Here are the criteria to consider when making your choice.
Criteria to consider: stability, height, and material
Stability is essential for preventing unwanted vibrations. A solid stand ensures clear, precise resonance. Its height should suit your posture for comfortable playing.
The material plays a key role in acoustic quality. Wooden stands reduce unwanted vibrations, while metal stands provide livelier resonance. Each material has its advantages, depending on your musical preferences.
Comparing wooden and metal stands
Wooden stands are valued for their appearance and durability. They require regular maintenance, such as oiling, to preserve their quality. They are ideal for musicians seeking soft, natural resonance.
Metal stands, meanwhile, are robust and easy to maintain. Rustproofing is enough to keep them in good condition. They are perfectly suited to producing a more powerful and long-lasting sound.
- Acoustic impact: wood reduces vibrations, while metal amplifies resonance.
- Maintenance: oiling for wood and rustproofing for metal.
- Recommended brands: Sound Magic Pro for wood and DrumStable for metal.
Preparing before installing the stand
Careful preparation is essential before beginning the installation. A well-organized space ensures a smooth and efficient experience. Here are the key steps for optimizing your setup.
Gathering the necessary tools
For a successful installation, make sure all your tools are within reach. An Allen key, screwdriver, and spirit level are often essential. These items will help you assemble the stand quickly and safely.
Choosing a suitable location
Choosing a suitable space is crucial for sound quality and comfort. Here are a few tips for optimizing your location:
- The 3-2-1 method: 3 m² of clear space, 2 light sources, and 1 reflective wall for optimal acoustics.
- Avoid vibrating floors: underfloor heating can disrupt stability and resonance.
- Noise-reduction solution: use a CorkSound Pro mat to reduce unwanted vibrations.
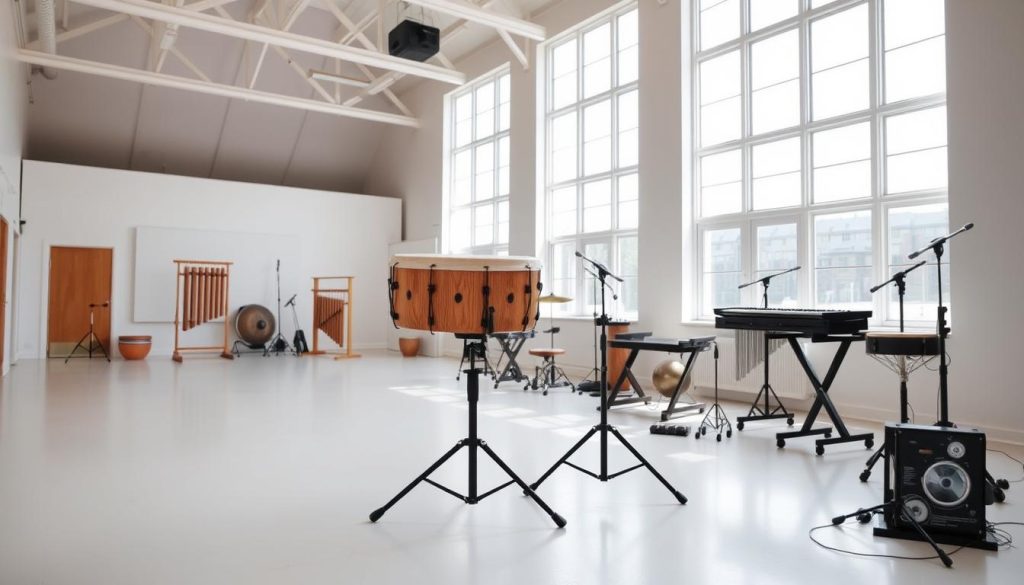
Maintaining a stable temperature is also important. Changes in humidity can affect the acoustic quality of your instrument. A well-ventilated space protected from drafts is ideal.
Steps for installing a tongue drum stand
Installing an accessory for your instrument requires a methodical approach. Follow these steps to ensure an optimal setup and a smooth playing experience.
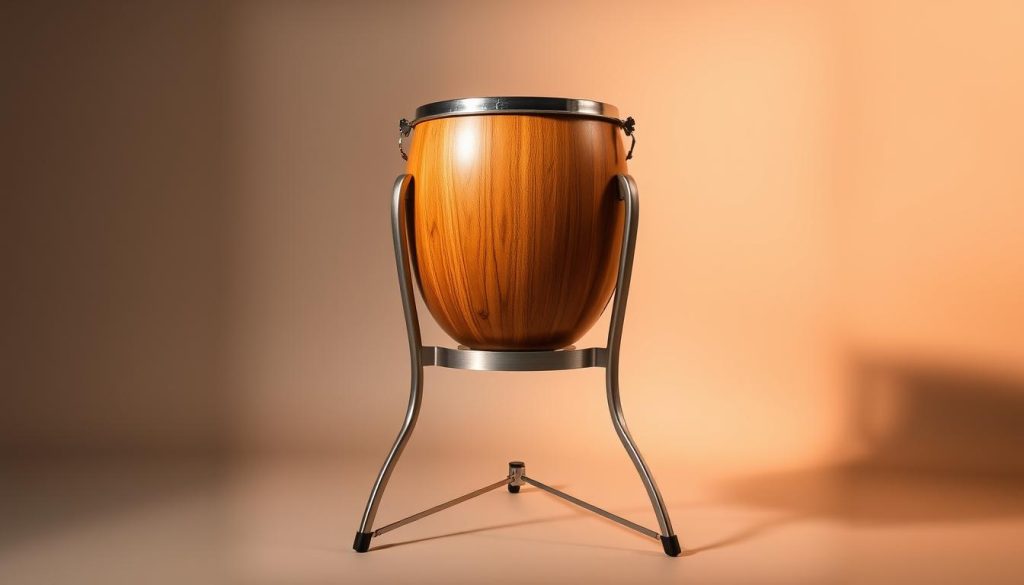
Assembling the stand components
Begin by gathering all the stand components. Check that every part is present and in good condition. Use the supplied tools, such as an Allen key, to assemble the main sections.
Make sure the screws are firmly tightened, but do not overtighten them, as this could damage the material. Precise adjustment ensures maximum stability.
Securing the instrument to the stand
Place the instrument on the stand by following the manufacturer’s instructions. Check that the fasteners are positioned correctly to prevent unwanted movement. Proper adjustment ensures clear, precise resonance.
Checking stability
Once the instrument is secured, test the stability of the stand. Apply light pressure to the sides to check its resistance. Use adjustable shims if the floor is uneven.
Here is a five-point procedure for checking stability:
| Step | Action |
|---|---|
| 1 | Side-pressure test |
| 2 | Tilt check |
| 3 | Gentle rocking |
| 4 | Fastener inspection |
| 5 | Shim adjustment |
Repeat this test regularly to maintain optimal stability. Monthly checks are recommended for frequent users.
How to play while standing with a stand
Mastering your posture and standing playing techniques transforms your musical experience. This practice offers unique freedom of movement and expressiveness while improving your connection with the instrument. Here is how to optimize your standing performance with a suitable stand.
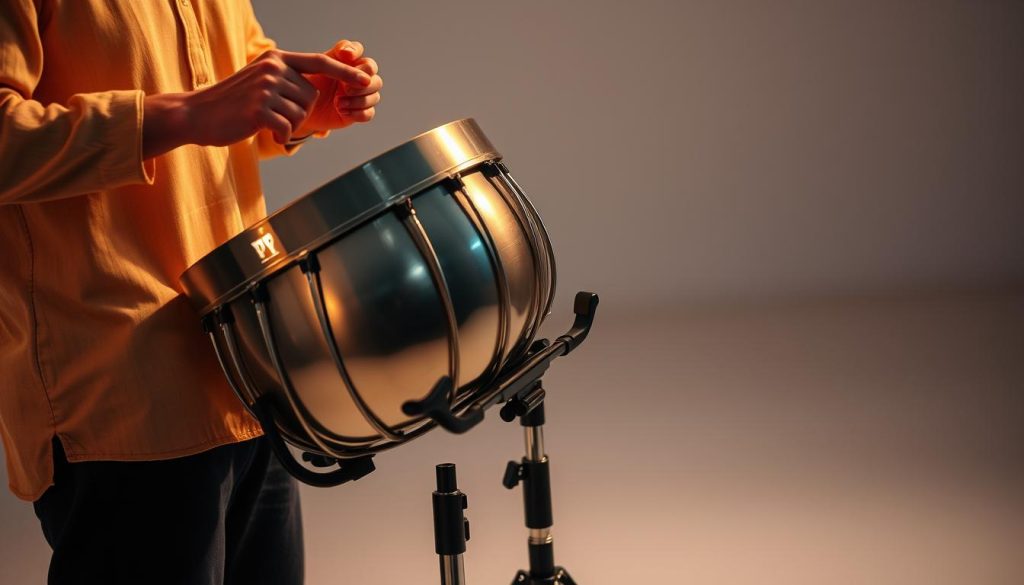
Positioning your body and hands
Correct posture is essential for playing comfortably and effectively. Stand upright with your feet slightly apart for better balance. Keep your shoulders relaxed and your arms at a natural angle.
Place your fingers or mallets near the instrument’s tongues so you can reach the notes quickly. This position encourages optimal responsiveness and more accurate strikes.
Suitable striking techniques
Striking techniques vary depending on the sound you want. Use mallets to obtain powerful, resonant sounds, or your fingers to produce softer, subtler nuances.
Practice alternating between your left and right hands to create complex rhythms. A progressive exercise using a pentatonic scale will help you explore different nuances and develop your expressiveness.
Here are some popular techniques:
- Adapting JazzVibes Pro sticks for a rich, balanced sound.
- Alternating between the left and right hands to create dynamic rhythms.
- A progressive pentatonic-scale exercise for mastering nuances.
To learn more about suitable stands, browse our selection of adjustable stands.
Optimizing the standing playing experience
Improving your standing tongue drum technique opens up new musical possibilities. This approach lets you explore varied tonal nuances and enhance your expressiveness. Here is how to make the most of this position.
Using mallets or fingers
Choosing between mallets and fingers directly influences the resulting sound effects. Mallets produce powerful resonance, making them ideal for vibrant melodies. Fingers, meanwhile, provide greater precision and subtler nuances.
The “wah-wah” technique is a practical example. By varying the opening of the sound hole, you create dynamic variations. This method enriches your playing and adds a unique expressive dimension.
Exploring tonal nuances
Exploring nuances is essential for diversifying your repertoire. Here are several techniques for maximizing sound effects:
- Use the sound hole to vary the resonance.
- Practice guided improvisation to develop your creativity.
- Make multitrack recordings with a loop pedal to layer melodies.
These approaches allow you to create rich and varied compositions. Here is a comparison of the techniques:
| Technique | Effect |
|---|---|
| Sound-hole modulation | Dynamic variations |
| Guided improvisation | Greater creativity |
| Multitrack recording | Harmonious layering |
Common installation mistakes to avoid
An incorrect setup can compromise your musical experience. Taking the time to configure your accessory properly helps prevent stability and comfort problems. Here are the most common mistakes and how to avoid them.
A poorly adjusted or unstable stand
A poorly adjusted stand can cause unwanted vibrations and affect sound quality. Make sure every component is firmly tightened and the instrument is securely attached. Checking the stability regularly is essential for preventing accidents.
- Use a spirit level to check that the stand is horizontal.
- Test its resistance by applying light pressure to the sides.
- Adjust the shims if the floor is uneven.
Incorrect playing posture
Incorrect posture can cause muscular pain and long-term disorders. The ideal neck angle is 15° to prevent tension. Poor positioning can also limit your musical expressiveness.
Here are a few ways to correct it:
- Use a mirror to check your alignment.
- Practice physical therapy exercises to strengthen your back muscles.
- Take regular breaks to prevent fatigue.
Good posture is the key to healthy, sustainable musical practice.
By taking the time to install and adjust your accessory properly, you protect your health and optimize your playing. These simple precautions will help you enjoy your instrument to the fullest.
Answers to frequently asked questions
Do you have questions about using an accessory with your instrument? Here are answers to the most common questions to help you choose and use your equipment with confidence.
Can the accessory be used with other instruments?
Yes, some accessories are versatile and suitable for several types of instruments. However, it is essential to check the supported dimensions and weight. For example, an accessory designed for a lightweight instrument will not be suitable for a heavier model.
Here is a brand compatibility table:
| Brand | Compatible instruments |
|---|---|
| DrumCraft | Tongue drum, cajón, djembe |
| Sound Magic Pro | Tongue drum, handpan |
| PercuLine | Cajón, bongos |
For non-standard instruments, DrumCraft offers a custom service tailored to your specific needs.
Is the accessory suitable for every tongue drum model?
Most accessories are designed to fit common models. However, it is crucial to check the dimensions of your instrument before purchasing. Larger or smaller models may require specific adjustments.
Here are some ways to ensure optimal compatibility:
- Measure your instrument and compare its dimensions with those of the stand.
- Choose an adjustable accessory that fits several models.
- Consult the compatibility guides provided by manufacturers.
If in doubt, contact customer service for personalized advice.
Conclusion
In conclusion, exploring the world of music with a unique instrument is a rewarding adventure. Here is a summary of the key steps for maximizing your experience: practice regularly, use a suitable accessory, master the basic techniques, listen actively, and experiment. Every step contributes to your progress and fulfillment.
Feel free to share your creations with the community. Join forums or enter competitions to exchange ideas and learn. To deepen your knowledge, register for our free webinar on November 15 and 30. These interactive sessions will help you refine your practice.
For more advice, read our detailed guide. Music is a journey, and every note you play is another step toward mastery. Enjoy exploring!