
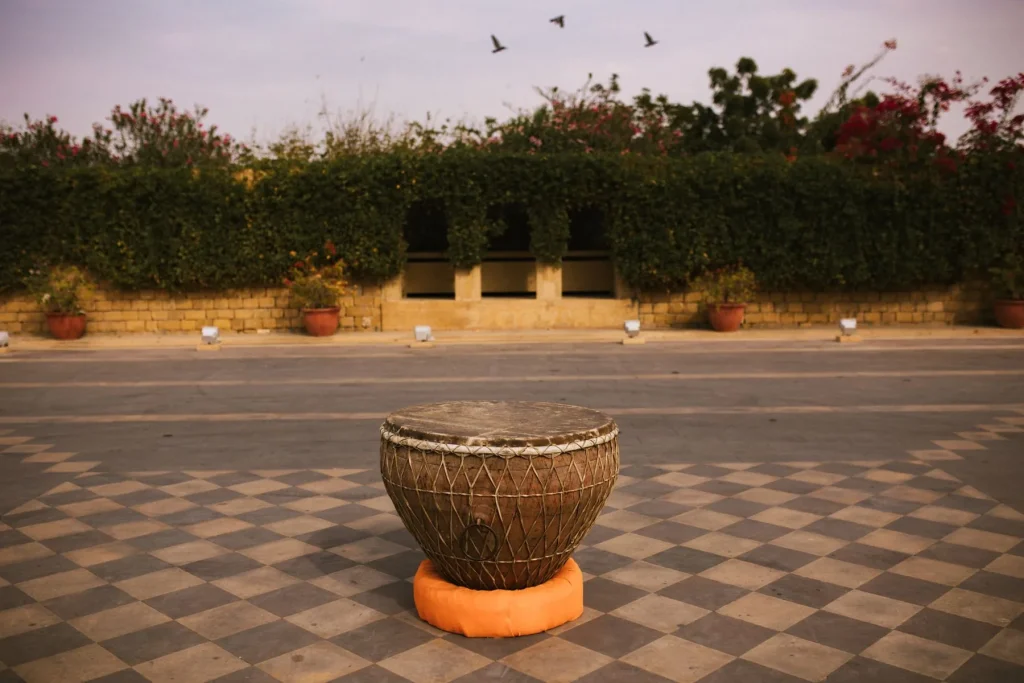
The djembe is a well-known percussion instrument that is especially important in African culture. For anyone who wants to learn how to draw a djembe, this tutorial is for you. It walks you through every step required to draw this instrument properly.
After 10 years of observation and practice, I have improved my techniques. I have learned to capture the essence of this unique djembe, made from wood and goatskin. Understanding its shape and decorative patterns is essential for creating an easy djembe drawing that truly resembles the original.
Introduction to the djembe
The djembe is more than a simple percussion instrument. It comes from West Africa, particularly Ivory Coast, Mali, and Guinea. Its distinctive shape and drumhead produce rich sounds that captivate listeners.
It is used during ceremonies and celebrations. The djembe is essential to African traditions.
Origins and characteristics of the djembe
The djembe has a rich history in West Africa. It is made from hardwood and animal hide. This instrument can produce many different sounds.
Thanks to its conical shape, it resonates in a unique way. Percussionists can express a wide range of emotions. Djembes are often decorated with symbolic patterns.
The cultural importance of the djembe in Africa
The djembe plays a crucial role in African music. It entertains people and brings them together around their traditions. It is used at important events such as weddings.
Djembe music strengthens social bonds. It passes down stories, making the djembe an essential instrument.
To learn percussion, explore Percuson and discover self-teaching methods.
Tools needed to draw a djembe
To create an authentic djembe drawing, choosing the right tools for drawing a djembe is crucial. By using the recommended drawing materials, you can create a work that reveals the beauty and complexity of this instrument.
Recommended materials
Choosing the right materials is essential for producing a beautiful drawing. You will need:
- Graphite pencils of different grades for drawing lines and shading.
- An eraser for making corrections and refining details.
- A ruler for taking precise measurements.
- A compass for drawing circular shapes.
- A drawing board to keep the paper stable.
- A fixative to preserve the drawing.
Good drawing paper and pencils are essential to the quality of the artwork. Choose high-quality drawing paper. It should be suitable for various techniques and allow you to create a range of tones and fine textures.

Paper and pencil options
Your choice of paper and pencils affects the final result. Textured paper adds depth. Pencils of different grades allow you to refine the details of the illustration. Colored pencils add realistic hues to the djembe.
Begin by sketching the basic shapes, then add details such as the wood grain and ropes. This allows a lively, faithful drawing to take shape. For more advice, consult this practical guide.
How to draw a djembe
To create a successful step-by-step djembe drawing, follow a series of simple stages. Begin by outlining the djembe with geometric shapes. This will help you understand its proportions before adding the details.
Preliminary steps: the basic sketch
Start by drawing an hourglass shape for the body. Add a circle at the top to represent the drumhead. Carefully follow the steps for drawing a djembe to achieve a good result. A helpful guide can assist you.
Refining the details of the djembe
After drawing the structure, add details. Draw patterns on the drumhead and lines to represent the wood. Do not forget the ropes and shadows that give it volume. These details will make your drawing look realistic.
Step-by-step djembe drawing tutorial
This step-by-step djembe drawing tutorial guides you through creating your illustration, from the initial sketch to the finishing touches. Each step is designed to help you while still allowing you to add your own personal touch. Begin with a sketch that captures the djembe’s shape and proportions. Pay attention to the texture of the wood, which you can emphasize with simple details.
Detailed instructions for each step
After choosing your acrylic paints, add different shades to enrich your djembe. Use permanent markers to draw cultural ornaments and symbols. Add cowrie shells or beads for an African touch.
Tips for making your drawing realistic
To create a realistic djembe drawing, work carefully on light and shadow. Add highlights with touches of lighter color. Use masking tape to define colored areas or patterns.
Personalize your djembe with carvings or ornaments. This can help tell a visual story. For more advice, consult this detailed article about decorating a djembe.